Finding mold in your home can be stressful. Maybe you have noticed a musty smell, damp areas that won’t dry, or dark spots on your walls or ceiling. In the damp weather of Seattle, you can expect this to happen after every down pour. With frequent rains and higher humidity, mold has plenty of chances to grow, especially in older homes.
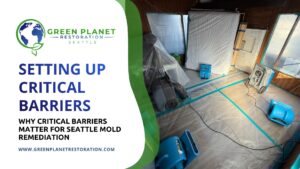
The first step that you need to take (once the mold has been detected) is to prevent its spread. Mold spores are lightweight and easily move through the air when materials are disturbed. That is why proper containment is such an important part of the remediation process. One of the most effective ways to control the spread is by setting up critical barriers.
Below is a simple explanation of what critical barriers are, why they are important, and how professionals install them correctly.
What Are Critical Barriers?
Critical barriers help keep moldy areas isolated while cleanup is done. They are typically created using a heavy plastic cover and are properly fastened to make certain that uncleaned spaces remain separate from the clean areas.
These barriers keep mold spores contained during cleanup. Without them, spores can drift into nearby rooms, settle into furniture or carpets, and create new problems.
In most professional jobs, critical barriers are used along with negative air pressure machines. These machines pull air out of the work area, filter it through HEPA Vacuuming, and vent it outside. This added step helps make sure spores don’t escape into the rest of the house.

Why Critical Barriers Matter for Seattle Mold Remediation
The moist climate in Seattle is a good breeding ground for mold, which may exist in areas where you cannot easily notice, such as behind walls, below floors or even in crawlspaces. Spores can be easily airborne when the contaminated materials are removed or disturbed.
Without proper containment, mold spores can:
- Travel through HVAC systems
- Stay on furniture, carpets and clothing
- Spread into clean areas of the home
Critical barriers are used to prevent this chain reaction before it occurs. This method safeguards your indoor air and minimizes the damage.
How Critical Barriers Are Set Up During Mold Remediation
Here’s what the process usually looks like during a professional mold remediation job.
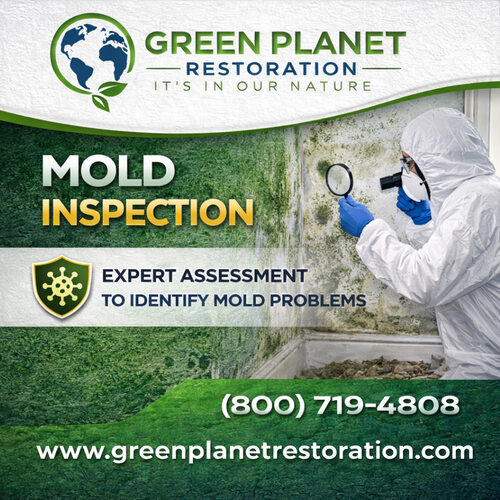
1. Inspect and Mark the Work Area
Everything begins with a thorough inspection. They inspect damaged areas and rely on moisture meters to find materials that appear dry but are actually wet.
After the affected area is identified, they clearly define the space that needs to be contained. This includes nearby areas that could be impacted during cleanup.
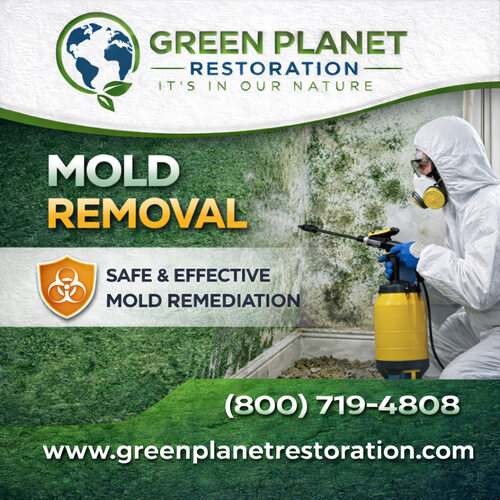
2. Use the Right Materials
It matters a lot to use the right materials. The professionals usually deal with:
- Heavy-duty plastic sheeting (typically 6-mil or more)
- Powerful tape, which is used on walls and finished surfaces
- Entry access flaps/ zip doors
- Staple guns to frame or trim when necessary
The floors can be covered with additional protection, including plastic coats or sticky mats, to minimize the chances of spores being transferred on shoes.
3. Seal All Openings
Any opening that connects the work area to the rest of the home must be sealed. This includes:
- Doorways
- Vents and air returns
- Windows
- Gaps around outlets, pipes, or light fixtures
Older homes in Seattle share attic or basement spaces, so those areas get extra attention during this step.
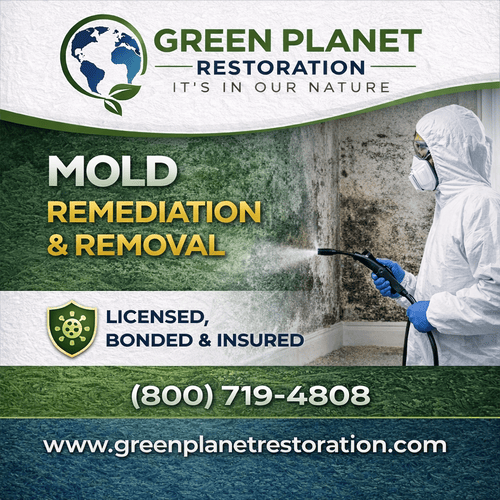
4. Build Floor-to-Ceiling Barriers
Plastic sheeting is fitted on the floor up to the ceiling. Overlapping seams are tightened to avoid air leakage. A proper barrier should be:
- Fully sealed
- Secure and stable
- Cleared out so that it was safe.
These barriers remain intact during the remediation process and are only removed after testing the area.
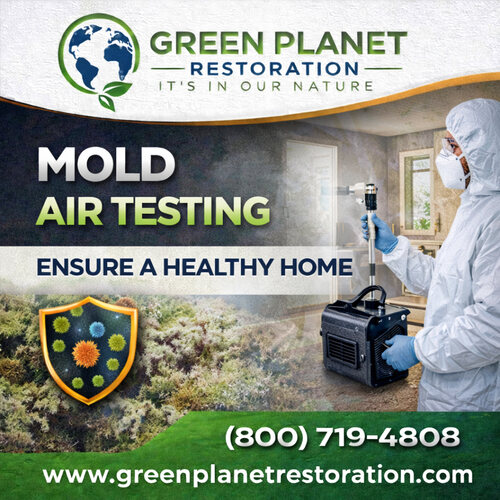
5. Create Negative Air Pressure

Even with strong barriers tiny gaps can let spores escape. To stop this, professionals use HEPA-filtered negative air machines.
These machines:
- Pull air out of the contained space
- Filter out mold spores and particles
- Exhaust clean air outside the building
This would provide a minimal vacuum effect, which makes sure that air enters the work area and does not exit. Negative air pressure is part of the professional mold remediation in Seattle.
6. Check the Setup Before Starting
Before cleanup begins, the containment is tested. One common way is a smoke test, where safe, non-toxic smoke is released inside the work zone.
If smoke leaks out, the barriers are fixed and resealed. Technicians also make sure the negative air machine is working properly. Cleanup only starts once everything is sealed and tested.
Bottom Line
A critical barrier is not something to set up by guessing. Even minor errors may result in spreading mold to places where it was not detected before. It causes larger problems and costly repairs in the future. This is why professional mold remediation is important. And when your home and health are on the line, you need a team that follows these protocols without cutting corners.
At Green Planet Restoration of Seattle, we take that responsibility seriously.
Our Seattle mold remediation works in accordance with the industry requirements of containment, air control, and clean-up. Our certified staff apply HEPA filtration, negative air system and time-tested techniques in safeguarding your home in the entire process.
Call Green Planet Restoration of Seattle today to book an inspection and get the professionals to do mold remediation the right way.